A low-cost Raspberry Pi NAS
A quick tutorial on turning your Raspberry Pi into a NAS

The Raspberry Pi is a wonderful device and since its hardware is quite bored being a music server alone, I decided that it’s time to bake more functionality into it. Coincidently, my NAS’ hard disks are beginning to fail and since I am in need of a hobby, I decided to give my Raspberry Pi a chance. From a specification perspective, my NAS is quite satisfying featuring 2 3.5" hard disk bays, RAID, USB3.0, Gigabit ethernet, a web interface, and a package manager. However officially there is no SSH/telnet access, no NFS sharing, and it is really annoyingly loud.
The goal is to build a fanless, silent NAS that allows me to install various services and since the Raspberry Pi is currently my music server, it also makes sense to bring the files to the same device. In this blog post, I am going to create a RAID 1 array with 2x 2TB disk space, monitoring via web interface and SMB file sharing.
One major obstacle is the low IO performance of the Pi. The ethernet port shares the same bus as the USB ports (!), and since it’s required to use USB disks, both of them share this already split connection to share files over the network. However, the speed minimum is around 10 MiB/s (100 Mbps ethernet), so it might actually be just fast enough. First, what equipment the ingredients?
Ingredients
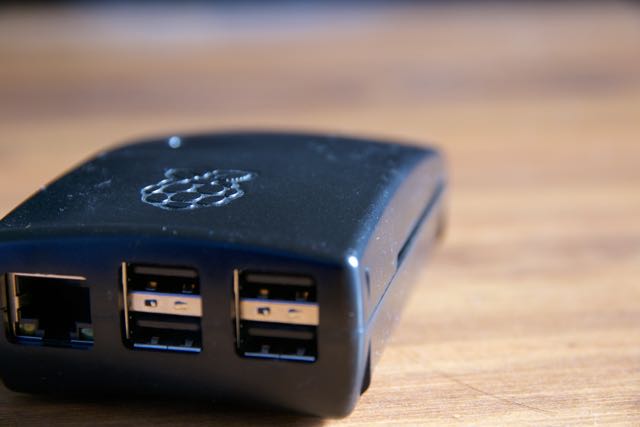
- 1 Raspberry Pi model 2, SD card, cables, etc.
- 2 USB HDDs
- 1 USB Hub with a power supply
- 1 Ethernet/Internet connection ;)
Steps
- Install Archlinux ARM on the Raspberry Pi
- Copy the data on one of the new hard disks (for migrating the data)
- Create a degraded RAID 1 from the remaining hard disk
- Copy the data into the degraded RAID
- Add (and thus format) the hard disk to the RAID
- Let the RAID rebuild
Install Archlinux ARM
Arch linux (ARM) is a great Linux distro, it features cutting-edge software, rolling release, and probably the most extensive documentation. However - be aware that using the latest software will lead to an unstable system every once in a while. For more stable distros, look at raspbian. To install, follow the directions on the respective pages: For example Arch Linux ARM (there should not be a huge difference to raspbian etc.).
Data migration
I had to migrate some 1.5TB of data to this RAID array. If you don’t, just skip this step. According to this guide, it the easiest way to migrate existing data to a RAID is basically:
- Copy the data on one hard disk (rsync, cp, … )
- Meanwhile, create a RAID1 array with the remaining disk and a “missing” disk
- Copy everything to the newly created RAID 1 device
- Add the (former) data disk to the array and let it rebuild
To prepare this, I started copying the data onto one disk, it took around a day.

Creating a new Block device
Following these instructions, make sure that you have a partitioned disk at hand or simply create a new one: Replace /dev/sdX with whatever disk you want to use
sudo parted -a optimal -- /dev/sdX mkpart primary 0% 100%
This will use 100% of the available disk space to create an “optimal” (-a optimal) primary partition for performance. Furthermore the RAID flag should be set for the kernel to recognize RAID partitions:
sudo parted /dev/sdX set 1 raid on
Having done this, the disk should now be prepared for being used in RAID1, so we can proceed with creating the block device:
sudo mdadm --create /dev/md0 --auto md --level=1 --raid-devices=2 /dev/sdX1 missing
This will create a RAID level 1 with 2 disk partitions, one of them being /dev/sdX1 from earlier, and one simply “missing”. mdadm will go on and ask some questions probably:
mdadm: /dev/sda1 appears to be part of a raid array:
       level=raid0 devices=0 ctime=Thu Jan  1 00:00:00 1970
mdadm: partition table exists on /dev/sda1 but will be lost or
       meaningless after creating array
mdadm: Note: this array has metadata at the start and
    may not be suitable as a boot device.  If you plan to
    store '/boot' on this device please ensure that
    your boot-loader understands md/v1.x metadata, or use
    --metadata=0.90
Continue creating array? y
mdadm: Defaulting to version 1.2 metadata
mdadm: array /dev/md0 started.
Then format the device:
alarm@alarmpi ~/apps> sudo mkfs.ext4 /dev/md0
… and congratulations! Your RAID device is now ready for use!
Mounting
In order to use it, it has to be mounted …
sudo mount /dev/md0 /path/to/mount/it
… which should be put into /etc/fstab in order to persist across reboots:
/dev/md0 /path/to/mount/it ext4 defaults 0 2
Adding the remaining Disk
As here described, I have cloned the partition layout:
sfdisk -d /dev/sdX | sfdisk /dev/sdY
After that the disk also needs to be added to /dev/md0:
mdadm --manage /dev/md0 --add /dev/sdY1
cat /proc/mdstat
Immediately after adding the disk the rebuilding starts and looks like this (when almost finished):
Personalities : [linear] [raid0] [raid1] [raid10] [raid6] [raid5] [raid4] [multipath] [faulty]
md0 : active raid1 sdb1[2] sda1[0]
      1953382400 blocks super 1.2 [2/1] [U_]
      [==================>..]  recovery = 91.5% (1787941696/1953382400) finish=155.3min speed=17752K/sec
      bitmap: 2/15 pages [8KB], 65536KB chunk

unused devices: <none>
That’s it! After rebuilding /dev/md0 is active, hurray :). Now for some monitoring and services to actually use the storage from outside.
Services/Applications
For a NAS to be functional some services are essential:
- Samba for Windows/Linux/OS X file sharing
- Netatalk for OS X devices
- Linux-dash for hardware monitoring
- aria2 for simple download management
- Mopidy a web-based music player
… and for those who really have a lot of time on their hands: Pi Hole, Amazon Echo, or anything from here :)
Conclusion
I loved doing this small exercise and I could finally replace my breaking NAS! Moreover there’s now a whole bunch of services that run on this Raspberry Pi and I really like having a useful server around (the useful part is quite hard). I managed to get fairly consistent transfer rates of 18 MB/s internally (from one disk to the other - 1.8TB) and 10-11 MB/s from the network, so all in all the performance is sufficient :) even though everything basically utilizes the same bus system (the Raspberry Pi 3 changes this for WiFi at least …).
Hope you enjoyed the (fairly long … ) read!
image credit (header): pixabay.com:kevinpartner