Build cool IoT solutions with Rust
Taking Rust into the cloud

More Microsoft cloud? Yes! Keep reading to see why
I believe that Rust is a great language for IoT - I have posted about making your sensors speak Rust, spoken at conferences and meetups about containerized deployments for Rust, but I felt like there was something missing. Often I felt that I couldn’t leverage existing solutions to go further and build models on top of that temperature data, build a fancy dashboard… . Ultimately, I want Rust to be more than just a personal learning journey, I want Rust to play a vital role in whatever application I create, and for that, leverage is vastly important … but where to start?
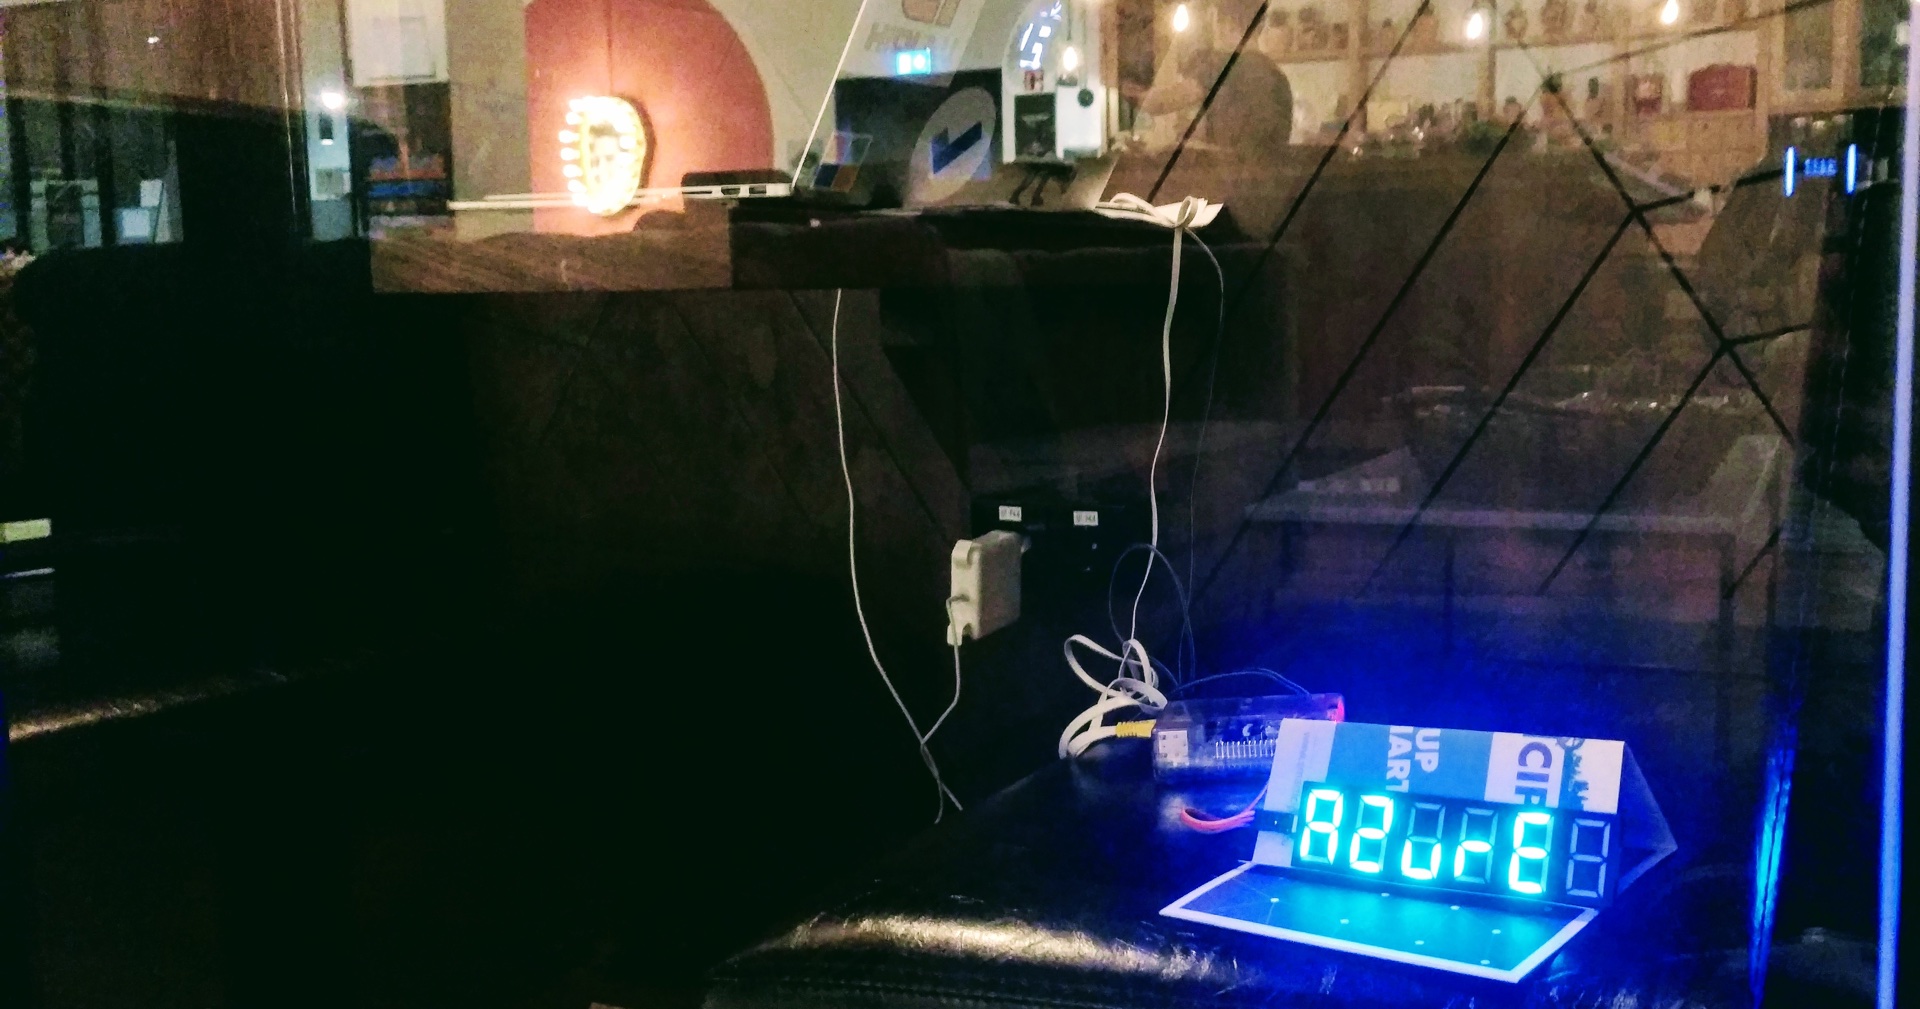
This. is. Azure!
Finding the right leverage and tools is critical! While there is often little difference between cloud services, many people are not aware of Azure’s capabilites yet know all about AWS. I would like to get everyone to know their options so they can make the best choice for the problems they face - and today I want to show you a small part of the Azure IoT platform!
Think of Azure as this pool of resources, where data can be moved around, sliced, diced, processed, stored, and displayed with little effort. Consequently the challenge is to get the data there!
As this is going to be an IoT solution, IoT Hub is the service of choice, it’s built for bi-directional messaging, has built-in device authentication, plumbing to do some further processing, and … an MQTT endpoint! That seems easy enough, let’s draw it up:

Since this is a lot of stuff, today will be about the lower left part: getting data into Azure using Rust. This can be done in three simple steps:
A brief look at the basics
Before jumping into the implementation here are some basics. Feel free to skip this if you know MQTT and IoT Hub.
MQTT
MQTT (Message Queuing Telemetry Transport) is a generic protocol that uses an often encrypted TCP stream to transfer data between broker and client. These subscriptions are partitioned by topic, which can be dynamically added, subscribed and published to. Since this protocol is only about how data is transferred, it doesn’t care so much about what data is actually going over the wire. I like JSON, but any other format would be fine as long as the recipient understands (simple numbers are also good).
IoT Hub
A service on Azure for large scale messaging. Includes device management, authentication, message passing, bi-directional messaging, individual endpoints, device twins, etc. The service focusses on message processing, so whatever data comes in needs to be passed on to other products for visualization or data storage. Think about it as a specialized queue with certain guarantees (like x messages a second, 24h message storage, etc).
Going Deeper
The Connection Setup
To properly connect via MQTT to the IoT Hub there are several steps required, and for a few languages Microsoft provides SDKs and tutorials for this. Not for Rust though 😢, so bear with me if you want to know more!
As stated in the tutorial, this is required:
All of the steps are mentioned in detail here, but these are the important bits:
Create a resource group for organizing Azure resources together:
$ az group create --name <your-resource-group-name> --location westus
Then create the IoT Hub within that group (SKU is basically the SLA level):
$ az iot hub create --name <your-iot-hubname> --resource-group <your-resource-group-name> --sku S1
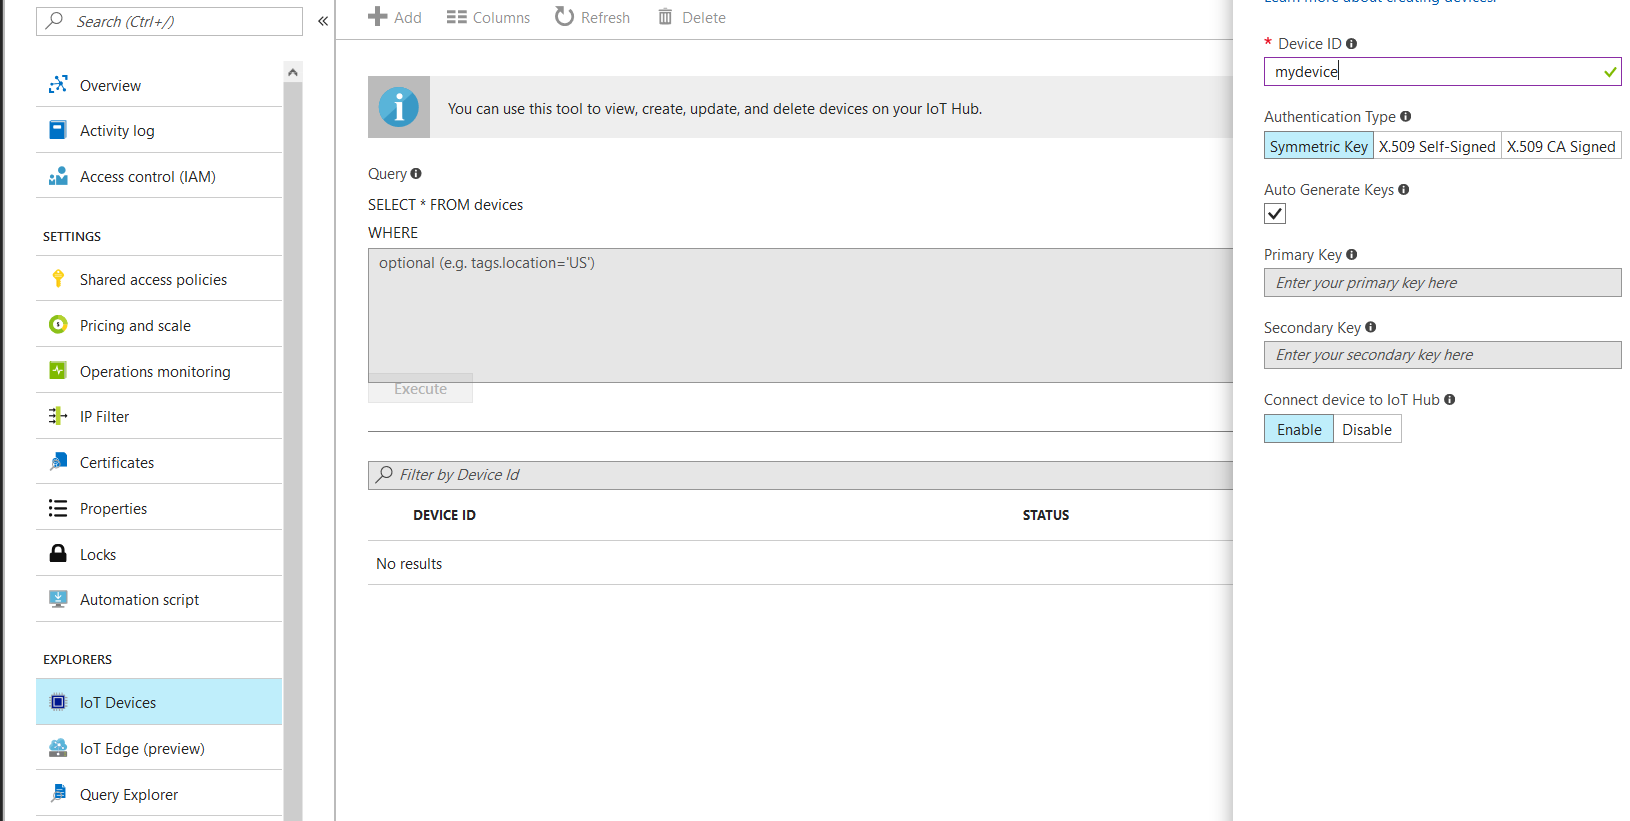
After creating the IoT Hub, it needs to be told about the devices that should be able to connect. This can be done with an additional service like the IoT Hub Device Provisioning Service or via a CLI/an SDK. The easiest way though is using the iothub explorer, where it’s also easy to obtain the SAS token for each device.
First get a connection string:
$ az iot hub show-connection-string --name <your-iot-hubname>
Then create a device:

Then plug this string into iothub-explorer to get the token:
$ iothub-explorer login "<iot-hub-connection-string>"
Session started, expires on Tue Dec 12 2017 15:13:34 GMT+0100 (STD)
Session file: /root/.iothub-explorer
$ iothub-explorer  sas-token mydevice
Shared Access Key for mydevice:
SharedAccessSignature sr...
is valid until: Tue Dec 12 2017 15:13:53 GMT+0100 (STD)
Connecting to MQTT with Rust
After searching for a while on Google to find a suitable MQTT library, there seem to be a few available, some maintained, some not, and some others lack many features. Connecting to Azure’s IoT Hub requires some specific details:
- TLS encryption
- MQTT v3.1.1
- Username & password authentication support
Unfortunately there doesn’t seem to be a higher-level MQTT library available that satisfies all of these requirements. However the standard protocol implementation is available and ready to use! Let’s take a look 😊.
For a simple application, the cargo.toml looks like this:
[package]
name = "azure-mqtt"
version = "0.1.0"
authors = ["hello@gmail.com>"]
license = "MIT"
homepage = "blog.x5ff.xyz"
readme = "README.md"

[dependencies]
mqtt-protocol = "0.4.2"
native-tls = "0.1"
clap = "2.29"
toml = "0.4.5"
serde = "1.0.24"
serde_derive = "1.0.24"
The most important bits are:
mqtt-protocol: This is the protocol implementation containing anything required to connect to an MQTT broker.native-tls: An OpenSSL-based library for providing encrypted TCP connections.serde: For serializing the body of an MQTT message.
A Messages 101
The way this library works is fairly simple: create a message, add all the required fields, serialize and send. For connecting to the IoT Hub there are only two types required: ConnectPacket and PublishPacket. Both are reasonable in the information they need to work:
let mut conn = ConnectPacket::new("MQTT", client_id.as_ref());
conn.set_clean_session(true);
conn.set_user_name(Some(username).to_owned());
conn.set_password(Some(password.to_owned()));
conn.set_client_identifier(client_id);

let mut buf = Vec::new();
conn.encode(&mut buf).unwrap();
stream.write_all(&buf[..]).unwrap();
… and a simple publish(note that IoT Hub doesn’t support QoS Level 2):
let packet = PublishPacket::new(topic, QoSWithPacketIdentifier::Level1(10), msg);
let mut buf = Vec::new();
packet.encode(&mut buf).unwrap();
stream.write_all(&buf);
What the IoT Hub does
Once an MQTT connection can be established with an arbitrary broker, the last step is to focus on where each item goes.
- Username: This string
<iothub-name>.azure-devices.net/<device_id>/api-version=2016-11-14 - Password: The SAS token that you retrieved earlier.
SharedAccessSignature sig=...&se=...&sr=... - ClientId: the device id that was chosen on device creation
The endpoint is mqtts://<iothub-name>.azure-devices.net:8883 - where the s means secure/encrypted. Thus the connection library has to support encryption (native-tls does that) and accept the DigiCert Baltimore Root Certificate, which should be included in all default certificate packages.
If you want to go deeper, look at the docs.
Sending data into the cloud
Once connected, a PublishPacket (for publishing on a certain topic) can be sent on its way to notify subscribers!
fn publish(stream: &mut TlsStream<TcpStream>, msg: String, topic: TopicName) {
    let packet = PublishPacket::new(topic, QoSWithPacketIdentifier::Level1(10), msg);
    let mut buf = Vec::new();
    packet.encode(&mut buf).unwrap();
    stream.write_all(&buf);
}
There are two tricky parts: the message content and the topic. IoT Hub is not a general purpose broker, so topics need to use a specifiedformat /devices/<device Id>/messages/events/ (note the trailing slash) and one device can only connect once. Publishing to this topic is what IoT Hub calls a “device-to-cloud message”, which is further explained here (going into all of these options would certainly warrant a couple of blogposts).
IoT Hub is most comfortable with telemetry, i.e. simple values but it also works well with JSON objects - which is useful for building custom routes and endpoints (e.g. an endpoint for thresholded alarms). For more on this, read here.
Receiving data from the cloud
Another very important use case is receiving messages. For that, MQTT and IoT Hub also offer a simple solution: topic subscription. Since the IoT Hub prohibits arbitrary topics, it’s important to subscribe to devices/{device_id}/messages/devicebound/# in order to receive cloud-to-device messages (note: only messages sent after subscribing are actually delivered). The # character is also a topic filter (basically ‘allow all’) and it can be adjusted to fit the device’s needs. More on that here.
This is also when it gets tricky: aside from sending the subscribe package, the most important part is handling messages as they come in, so this has to be a loop of some sort that checks back every now and then. Since this is very particular to the problem, please read more over at the examples in mqtt-rs.

Profit
Once everything is in place, cargo run should do the trick. If it doesn’t, IoT Hub unfortunately does not provide you with proper error messages and often just closes the connection. However when it works, it just works 😊
What can you do now? One simple thing to do would be creating an Azure table store and an Azure Function to persist incoming data. Alteratively PowerBI can visualize the data coming in! With your data now being reliably transported into Azure’s cloud, it’s fairly simple to keep building and do great things.
I hope this helps with getting a basic setup working and lets you focus on building the device’s code itself instead of reading Azure docs. The IoT Hub is a deep well with lots and lots of features, it’s easy to get lost :D
To try this on your own, modify the code, etc. check out the corresponding repository here. PRs are of course welcome 😉
If you like what I write, feel free to drop me a message on Twitter and follow me while you are at it. And sharing is of course appreciated as well!


